
 Some time ago I was showing a friend how to add text to a photo using PAINT, the free Microsoft program found under Accessories ...
(Click Start - All Programs - Accessories).
You can add titles to your photos or make greeting e-cards with this simple program. I kept my little tutorial and thought perhaps if I post it here it could be useful to others. Here it is step by step. The photos will enlarge when clicked.
************************************************
Adding Text to Photos in PAINT
Before you start, be sure the photo you want to use has been resized to the desired size.
If you need help with that I can post other text I have about resizing in Irfanview.
With the PAINT program opened on your screen begin:
1. Action: Left click on FILE - then OPEN
Result: Opens browser window. Browse to desired photo.
2. Action: L.Click on desired photo then OPEN.
Result: Photo opens in Paint workspace.
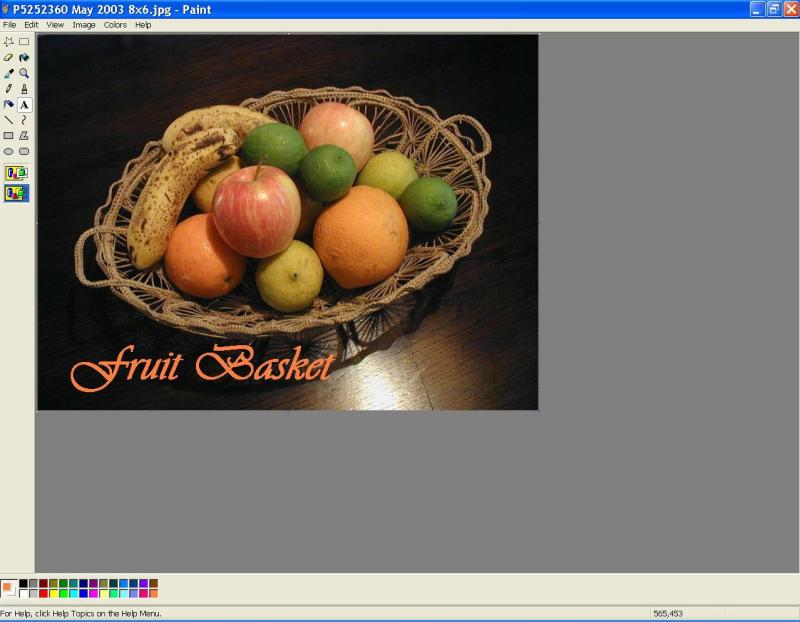
 3. Choose the text option by clicking on the large 'A' at left and then your choice of a solid text box behind your lettering (upper icon) or a transparent box as illustrated here (lower icon).
4. Action: L.Click on photo where you wish text to begin.
Result: Dotted line box appears with cursor at top left corner.
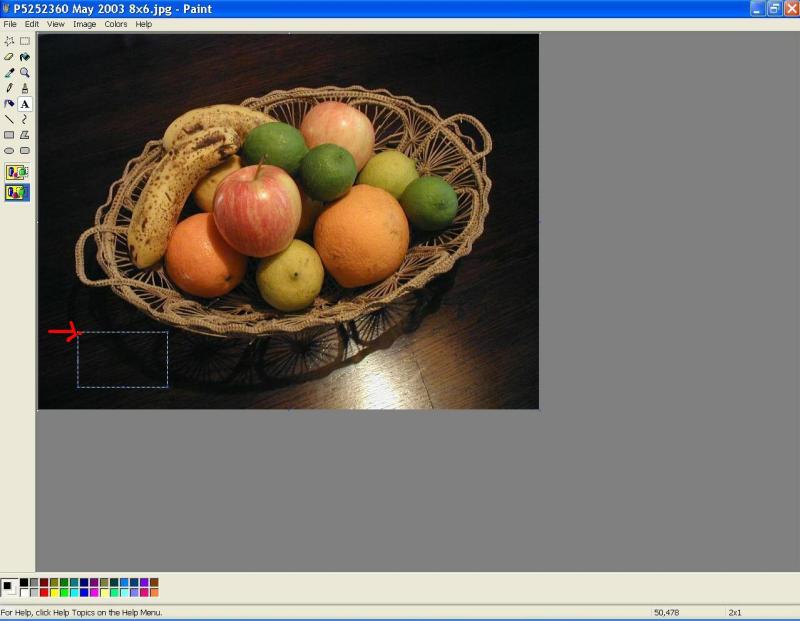
5. Stretch box to fit desired size by pulling on tiny blue dots on all 4 sides when double arrow appears as cursor is passed over blue dots.

6. Action: With cursor inside text box, right click and choose 'text toolbar' from the menu that just dropped down.
Result: Text toolbar appears at top of screen - (seen in photo 7).

7. Choose font and size, bold, italic or underline from text toolbar at top and then text colour from palette at screen bottom left. (In my example I used Vivaldi Italic.)

8. Type in text. You can correct with back arrow and 'Undo' from the edit menu at top of screen.

9. When done, L.Click outside of text box and dotted lines of box will disappear.

10. L.Click FILE - then SAVE AS and save your photo with a filename different from the original.
I don't think anyone will have a problem with this but if something isn't clear, please ask :-).
No comments:
Post a Comment